A camera mounted too high can miss faces. One mounted too low can be tampered with in seconds. When people ask how to install security cameras outdoors, the real question is usually how to place them so they actually help when something happens.
Outdoor cameras do more than record activity. They help deter theft, improve visibility around entry points, and give homeowners and business owners a better sense of control over what is happening outside. But a good result depends on more than buying a camera and attaching it to a wall. Placement, power, weather protection, lighting, and connection quality all matter.
How to install security cameras outdoors the right way
Before drilling any holes, start with the areas that matter most. For most homes, that means front doors, driveways, back patios, side gates, and first-floor windows that are not visible from the street. For businesses, priority areas often include customer entrances, loading areas, parking lots, rear exits, and any place where employees open or close the building.
The goal is not to cover every inch of the property. It is to protect likely access points and capture useful footage. A wide view sounds appealing, but it can reduce detail. In many cases, two well-placed cameras provide better evidence than one camera trying to see everything at once.
Height matters more than many people expect. Most outdoor cameras perform best when installed around 8 to 10 feet high. That is usually high enough to reduce tampering but low enough to capture faces, clothing, and movement clearly. If you place cameras under eaves or soffits, you can also reduce direct exposure to rain and sun.
Start with a plan for power and connectivity
One of the biggest decisions is whether the cameras will be wired or wireless. Both can work well, but they suit different properties and priorities.
Wired cameras are often the better long-term choice when reliability is the top concern. They usually provide more stable video transmission and consistent power. They can also be easier to maintain over time because you are not dealing with batteries or signal dropouts in the same way. The trade-off is installation complexity. Running cable through attics, walls, exterior surfaces, or conduit takes planning and should be done carefully.
Wireless cameras can be faster to install, especially in areas where running cable would be difficult or expensive. They are a practical option for some homes and smaller properties. But wireless does not mean no wiring at all. Many still need a nearby power source, and battery-powered models require regular charging or battery replacement. They also depend heavily on strong Wi-Fi outdoors, which is not a given in every yard or parking area.
If your signal is weak where you want the camera, do not assume the camera is the problem. It may be a network coverage issue. Test the Wi-Fi signal at each planned installation point before mounting anything.
Choosing the best outdoor camera locations
Good camera placement should match how people move around your property. Think like someone approaching the building, not like someone standing inside looking out.
Front door coverage should capture anyone approaching, not just the top of their head while they stand at the threshold. A driveway camera should cover parked vehicles and anyone walking up from the street. Backyard cameras should focus on gates, patio doors, and fence openings. At a business, you want a clear view of points where people enter, unload, gather, or handle cash and inventory.
Try to avoid aiming directly into bright light. Strong sun, headlights, and reflections off windows or light-colored siding can wash out footage. In Louisiana, where heat, humidity, and sudden storms are part of life, it also helps to avoid spots where water can pool, splash, or run down directly over the camera housing.
A camera should also be visible enough to act as a deterrent, but not so exposed that it becomes easy to disable. That balance can take a little judgment. In some cases, one visible camera paired with another covering the same area from a different angle is the strongest setup.
How to physically install outdoor cameras
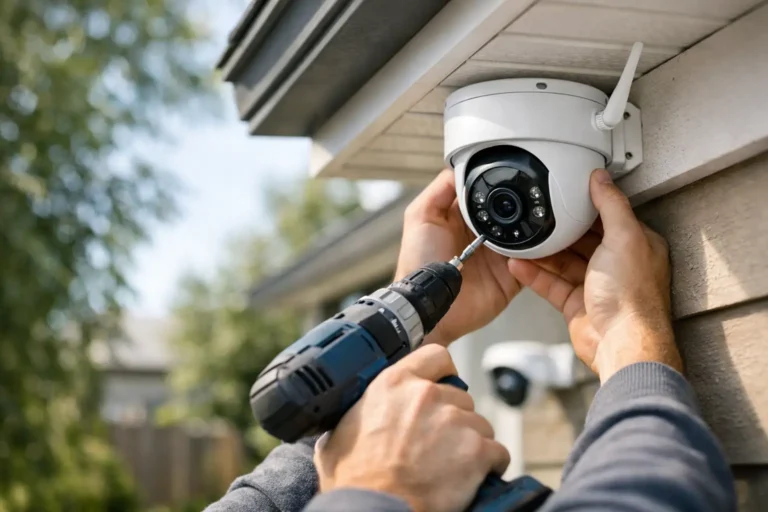
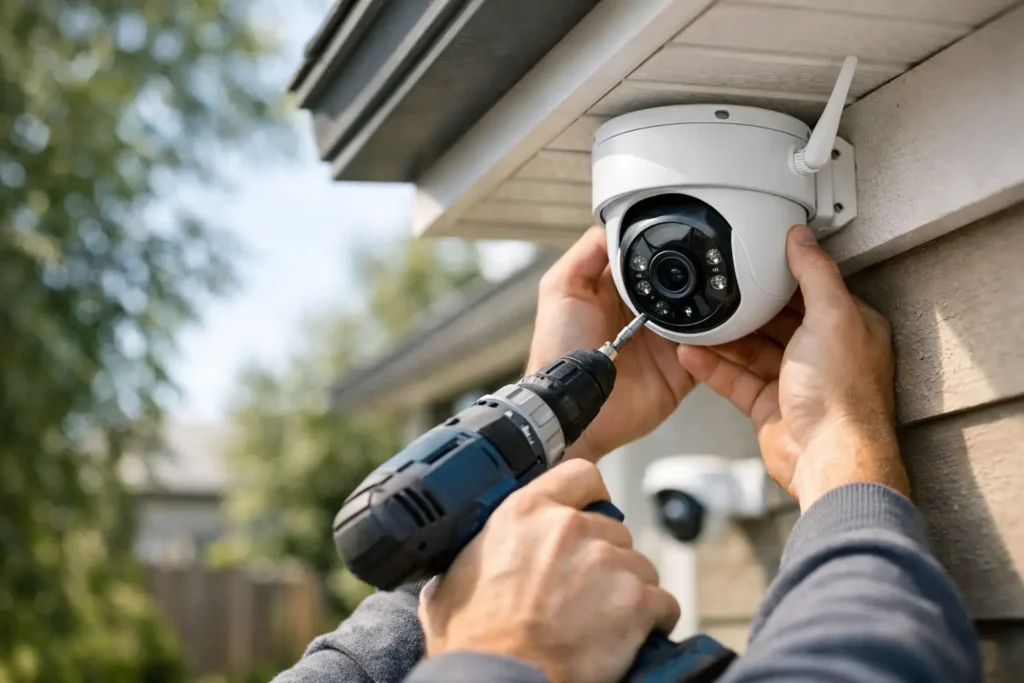
Once you have your locations, hold the camera mount in place and confirm the viewing angle before drilling. Many installation problems start because the bracket is secure but the image is wrong. Check the view in the app or monitor if possible, especially for blind spots, glare, and obstructions from gutters, trim, shrubs, or hanging lights.
When you drill into brick, stucco, siding, or masonry, use the proper anchors and hardware for that surface. The mount should be tight and stable, with no wobble. A slightly loose camera may not seem like a problem at first, but wind and vibration can affect the image over time.
If you are running cable outdoors, keep it protected. Exposed wiring is vulnerable to weather, pests, and tampering. Use outdoor-rated cable where required, secure it neatly, and seal all wall penetrations. Even a small opening around a cable can allow moisture or insects inside. A proper seal helps protect both the equipment and the building.
Weatherproofing deserves more attention than it often gets. Even cameras rated for outdoor use need thoughtful installation. Mounting under an overhang can extend the life of the device. So can avoiding direct sprinkler spray, roof drip lines, and harsh afternoon sun where possible.
Setup matters after the camera is mounted
A camera that is physically installed is not fully installed until the settings are right. This is where many do-it-yourself setups fall short.
Start by adjusting motion detection zones. If the camera watches a street, tree line, or busy sidewalk, default motion settings may create endless alerts and make the system less useful. Set zones so the camera focuses on the areas you actually care about, such as doors, gates, parking spaces, or walkways.
Then review image quality settings. Higher resolution can improve detail, but it also increases storage use and bandwidth demand. The right balance depends on your internet connection, the number of cameras, and whether you need longer video retention. Night vision settings should also be checked after dark, not just during the day. A camera that looks great at noon may produce glare or weak contrast at night.
If your system includes remote access, test it from outside the property. Make sure alerts arrive when expected, live video loads reliably, and recorded clips are easy to retrieve. During a real incident, no one wants to troubleshoot an app or guess which camera captured the event.
Common mistakes to avoid when installing outdoor cameras
The most common mistake is focusing only on the camera itself and not the whole system. A good camera cannot make up for poor placement, weak lighting, unreliable internet, or improper recording settings.
Another issue is trying to cover too much area with too few cameras. This often leaves blind spots or footage that is too wide to be useful. It is also common to ignore nighttime performance. Outdoor areas change dramatically after dark, and a camera should be tested in the same lighting conditions where it will actually need to perform.
For businesses, one more mistake is forgetting operations. Cameras should support the way the business runs day to day. That may mean covering delivery times, employee entrances, register areas, or opening and closing activity. A camera system is more valuable when it supports both security and daily visibility.
When professional installation makes more sense
Some properties are straightforward. Others are not. Multi-entry homes, larger lots, metal buildings, detached garages, parking areas, and commercial properties usually require more planning than a store-bought kit can solve on its own.
Professional installation is often the better option when you want dependable coverage without trial and error. A trained installer can identify blind spots, recommend the right mounting height, protect wiring, improve network performance, and make sure the system records what matters. That is especially important when cameras are part of a larger security setup that includes alarms, mobile access, smart controls, or professional monitoring.
For families and business owners who want a system that works day after day, local support also matters. A provider with experience in Louisiana conditions can account for weather exposure, property layout, and the practical details that affect long-term performance. Alarm Center Security has worked with homeowners and businesses across the region for decades, and that kind of experience can make the difference between a camera system that looks installed and one that truly protects the property.
If you are deciding how to install security cameras outdoors, think beyond the mount and the wiring. The best system is the one that gives you clear coverage, reliable access, and confidence that when something happens outside, you will be able to see exactly what mattered.